![]() Adding a Hole
Adding a Hole
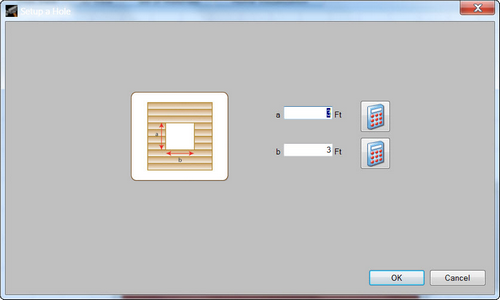
You can place a square or rectangular hole through the decking and joists in a deck design from the Plan View pane. The software automatically frames around the hole with joists and calculates any additional fasteners needed.
| 1. | Click Add in the Home Ribbon. |
| 2. | Choose Hole from the menu. |
| 3. | When the Setup a Hole dialog appears, enter side a and b dimensions. |
| 4. | Click OK. |
| 5. | Position the hole 2' or more away from any deck edge. Click the deck to place the hole. |
TIP: To change the default dimensions used for subsequent holes, click Settings in the Home Ribbon, followed by Holes or Setup All Cut Lengths.
![]() Adding Angle Corners
Adding Angle Corners
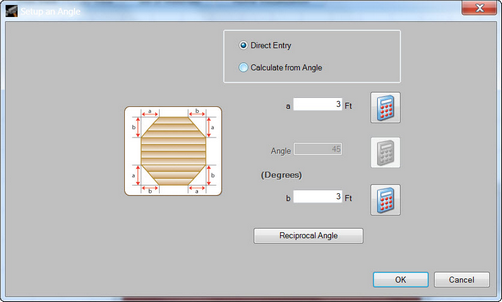
You can add a cut or an angle corner in a deck design from the Plan View pane. The software automatically makes any necessary changes to the supporting structure.
| 1. | Click Add in the Home Ribbon. |
| 2. | Choose Angle from the menu. |
| 3. | When the Setup an Angle dialog appears, define the length of the angle sides a and b using the Direct Entry option. Or you can define the angle and side a using the Calculate from Angle option. Click OK. |
| 4. | Click a highlighted corner of the deck. |
TIP: To change the default dimensions used for angles, click Settings in the Home Ribbon, followed by Angles or Setup All Cut Lengths.
![]() Adding a Bay Notch
Adding a Bay Notch
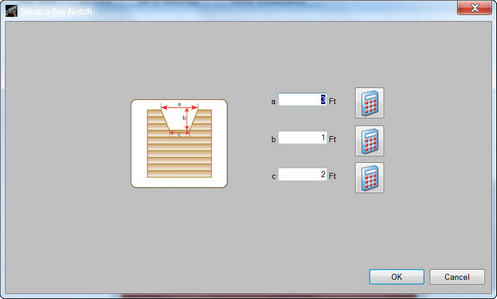
You can add a bay notch to your deck from the Plan View pane. The software automatically makes any necessary changes to the supporting structure.
| 1. | Click Add in the Home Ribbon. |
| 2. | Choose Bay Notch from the menu. |
| 3. | When the Setup a Bay Notch dialog appears, enter side a, b, and c dimensions and click OK. |
| 4. | Position the notch no closer than 2' from any adjoining deck edge and click a deck edge to place the notch. |
TIP: To change the default dimensions used for angles, click Settings in the Home Ribbon, followed by Bay Notch or Setup All Cut Lengths.
![]() Adding a Corner Notch
Adding a Corner Notch
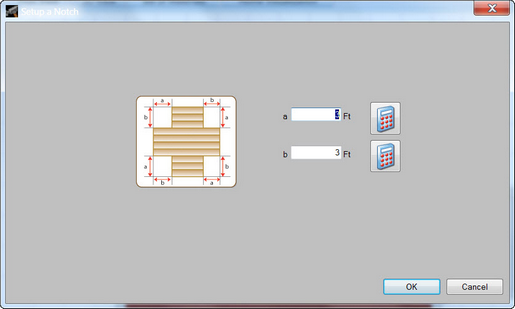
You can add a corner notch to your deck from the Plan View pane. The software automatically makes any necessary changes to the supporting structure.
| 1. | Click Add in the Home Ribbon. |
| 2. | Choose Notch from the menu. |
| 3. | When the Setup a Notch dialog appears, define the length of the angle sides a and b and click OK. |
| 4. | Click a highlighted corner of the deck. |
TIP: To change the default dimensions used for angles, click Settings in the Home Ribbon, followed by Corner Notch or Setup All Cut Lengths.


