![]() To modify a gate in the project:
To modify a gate in the project:
| 1. | Click the Modify button in the Home Ribbon. |
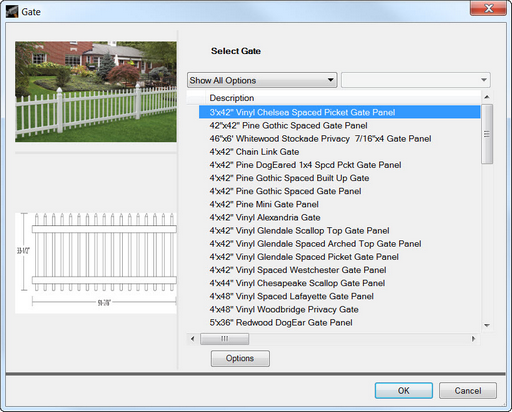
| 2. | Choose Gate from the menu. The mouse pointer will be displayed as a hand when placed over a gate. Locate the desired gate, place the mouse pointer on the gate and press the left mouse button once, which will display the Fence Properties dialog. |
| 3. | From the Fence Properties dialog, you can perform the following actions: |
| a. | The gate style can be changed by choosing a new style from the list on the right-hand side of the dialog. |
| b. | Construction options can be changed by clicking the Options button in the dialog. This will display the Material Options dialog, which is used to select options for the gate. |
| 4. | Once the desired changes have been made in the Material Options dialog, click OK to return to the Gate Properties dialog. |
| 5. | In the Gate Properties dialog, click OK to return to the fence design. |
![]() To remove a gate from the project:
To remove a gate from the project:
| 1. | Click the Remove button in the Home ribbon. |
| 2. | Choose Gate from the menu. The mouse pointer will be displayed as a hand when placed over a gate. Locate the gate to be removed and click the gate to remove it. |
| 3. | Repeat steps 1 and 2 to remove additional gates. |
