|
To add a fence to the project:
| 1. | Click the Add button in the Home Ribbon. |
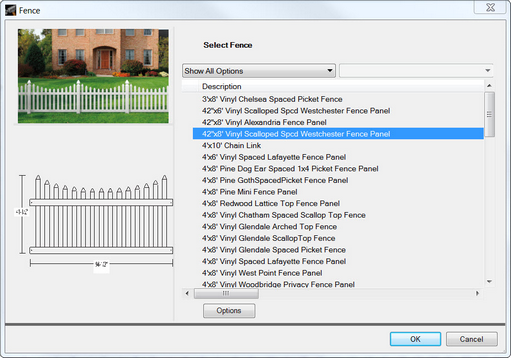
| 2. | Choose Fence from the menu, which will display the Fence Properties dialog. |
 | | Click on image to enlarge |
| 3. | Scroll through the list of fence styles on the right-hand side of the dialog to find your desired fence style. Click once on the name to view images of the selected design in the two panes on the left-hand side of the dialog. |
| 4. | Once the desired style is chosen, click OK to return to Plan View. |
| 5. | Place the mouse pointer at the desired starting point and click the grid once with the left mouse button. |
| 6. | Move the mouse pointer to draw a fence section, until the desired length is reached. The fence section will be represented by a line, and the length of the fence section will be displayed as a tool tip alongside the line. |
| 7. | When the desired length is reached, there are two options for continuing to draw the fence: |
| a. | Click the left mouse button once to complete the fence section, OR |
| b. | Press and hold the Shift key while clicking the left mouse button once to draw another fence section. Repeat this step for any additional fence sections. |
| c. | If option (a) is chosen, it will be necessary to repeat steps 1 through 5 above to add other fence sections. |
Note: Once a Material has been selected any new Fence section that is added will use the same material until it is changed. To change the material, prior to adding a new section go to the "Settings" option on the Ribbon Menu and select Fence.
|
